Encrypt
> User Guide: Get Started · Encrypt · Decrypt · Keys · Confidants · Notifications · Settings · Agent 101 · Collaborator 101
Use the Encrypt function to encrypt any files or folders.
Step 1: File Selection
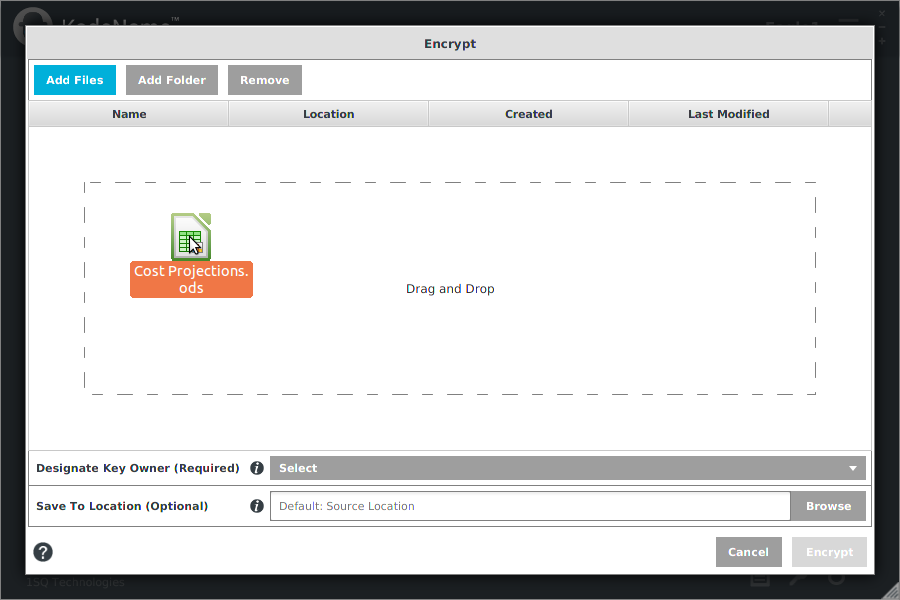
Select which files you want to encrypt. Drag and drop any files or folders from your active workspace/desktop into the table area or click the "Add" buttons.
Edit your selection by highlighting items in the table and clicking the "Remove" button.
Step 2: Designate Key Owner (Required)
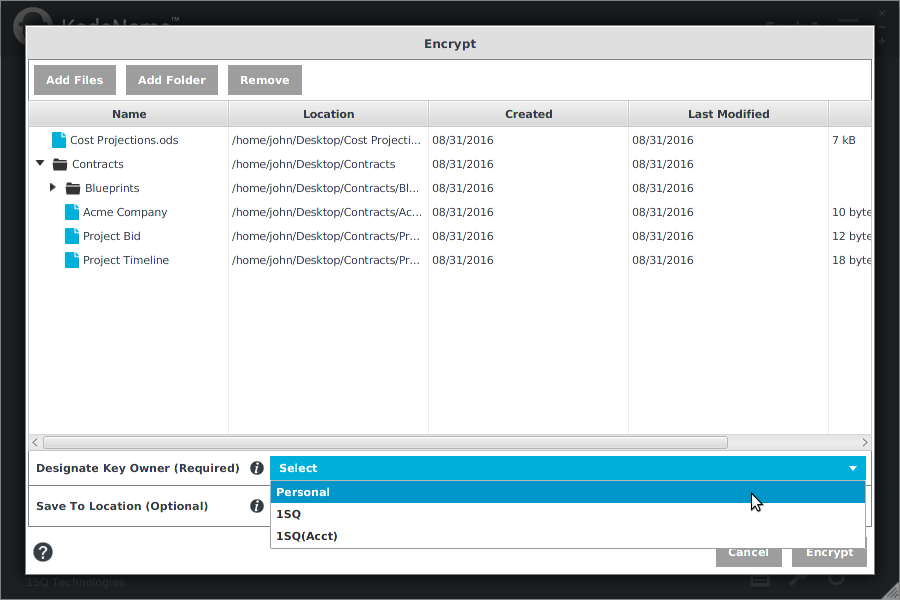
Designate who owns the keys generated by KodeFile to encrypt the files.
- If you are encrypting your own personal files, select "Personal".
- If you acting as an Enterprise Agent and encrypting Enterprise files, select an Enterprise Circle.
Note: If you are not an Agent of a KodeFile Enterprise account, only "Personal" appears in the drop-down list.
Note: As an Enterprise Agent, you can only select a Enterprise Circle of which you are a member. Your Circle memberships appear in the drop-down list.
Note: If you designate a "Restricted" Enterprise Circle as the Key Owner, subsequent "Share Keys" will be disabled. Restricted Inner-Circles limit use of their Circles keys to members only.
Step 3: Specify Save To Location (Optional)
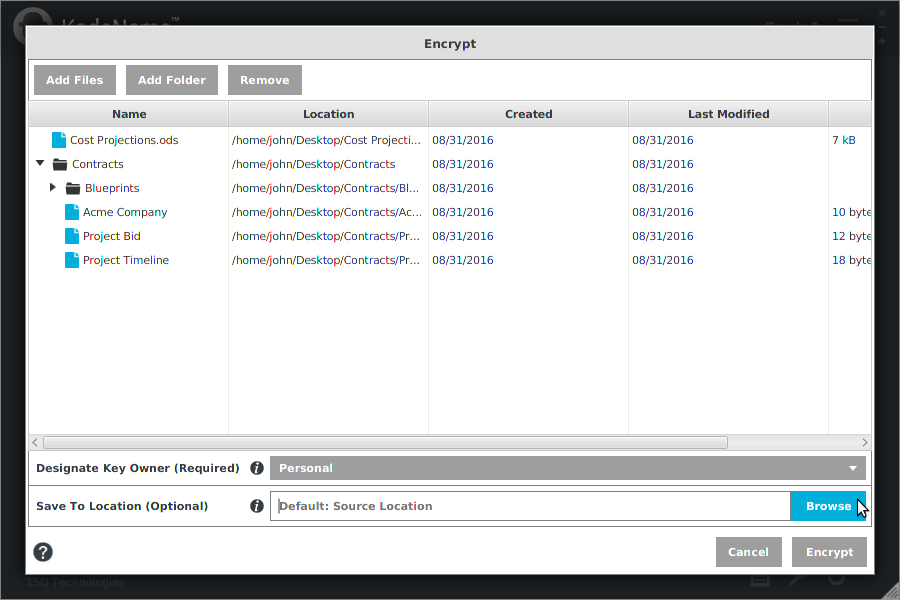
By default, encrypted files and folders are saved to the same location as their respective source files and folders.
- If desired, "Browse" to specify a Save To location. Otherwise, skip this setting to accept the default source location.
Note: Regardless of location, contents of encrypted folders are saved in the same directory structure as their source folders.
Note: The name extension ".kode" is added to encrypted files and folders.
Note: KodeFile produces a separate encrypted version of the source file/folder. The source file/folder is not deleted.
Note: If an encrypted output file already exists, you will be presented with the option to "Replace" (overwrites the existing file) or "Keep Both" (keeps both files, # versioned).
Step 4: Encrypt
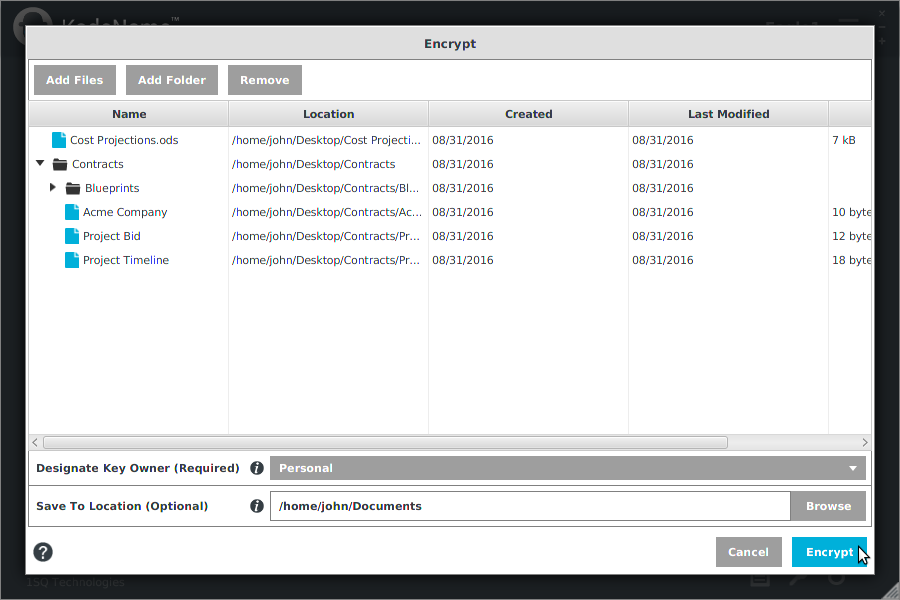
Click "Encrypt". A confirmation screen will appear after the encryption task is complete.
If there are any errors during encryption, you will be presented with an error log.
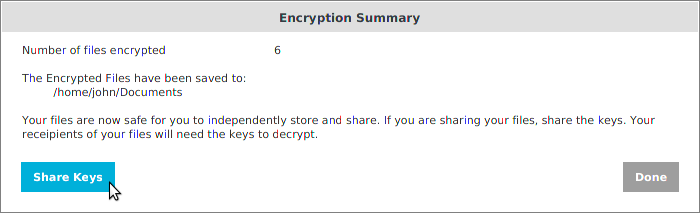
Your files are now safe for you to independently store and share. You are responsible for managing your source and encrypted files.
Click "Done" or if you are sharing your files, proceed to "Share Keys". The recipients of your files will need the keys to decrypt.
Note: If you click "Share Keys", the files are then pre-loaded into the Share Keys screen for you to begin the sharing task.
Note: You can always share the keys at a later time by clicking the "Keys"→"Share Keys" buttons on the Home Screen and loading their associated encrypted files.
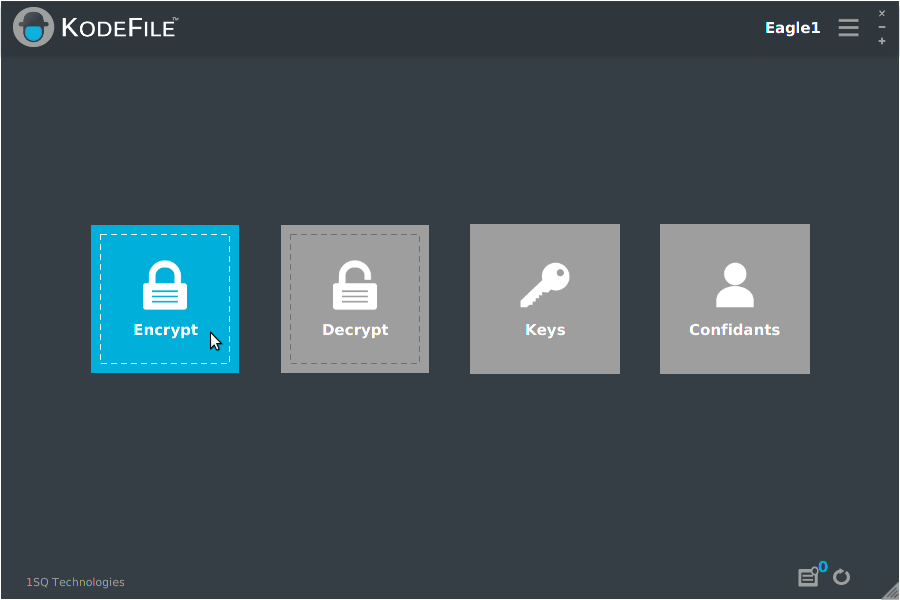
Quick Encrypt
On the Home Screen, drag and drop files or folders onto the "Encrypt" button.

Your items are automatically encrypted and saved to the default source location with "Personal" Key Owner.
The name extension ".kode" is added to encrypted files and folders.
Note: If you are an Agent of a KodeFile Enterprise account, Quick Encrypt is disabled. The dragged and dropped item will be loaded into the Encrypt screen where you must designate a Key Owner.